


Now that you have the techniques needed to play chord progressions lets kick of with our first example which will highlight the use of Anchor finger technique.
Finger 3 of the left hand will be the common thread between our 3 chords here, which are:
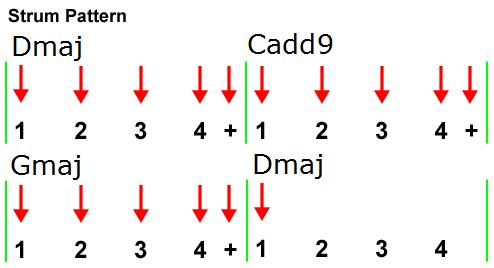
Dmajor - Cadd9 - Gmajor
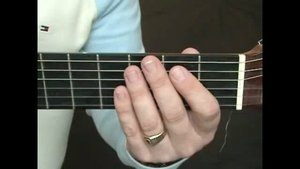
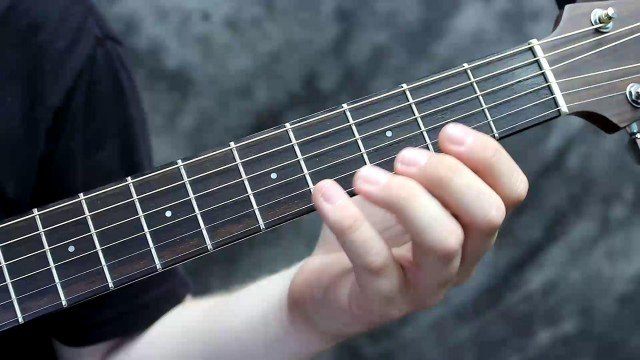
When moving from the Dmajor to Cadd9 chord, you must keep finger 3 of the left hand in position. At first you may feel tempted to move the 3rd finger or it may move in sympathy with your other fingers when you release them from the fretboard but it is imperative that you practice by keeping it locked in position.
You'll also notice that the Cadd9 chord includes finger 4 of the left hand on the 3rd fret of the top e string. When we move from that chord to Gmajor, finger 4 stays where it is. Now we have 2 anchor fingers in use.
Make sure that you are comfortable with these changes before you attempt the progression with the right hand rhythm part.
The right hand is played with downstrokes on each beat and pay attention to the extra stroke which falls on the + beat in between beats 4 and 1.
 |