


Hi there and welcome to this tutorial on anchored fingers.
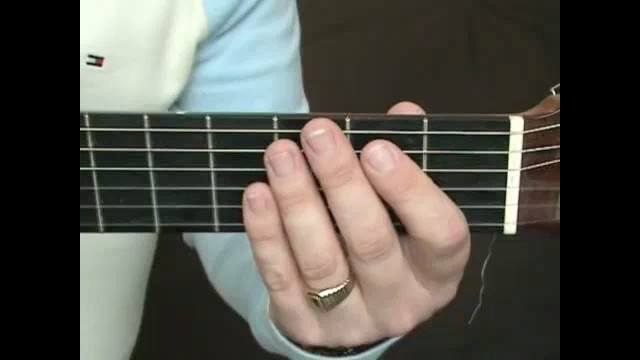
"Anchored fingers" refers to the idea that when we change between chords on the guitar, it's very common to keep some fingers in place on the fretboard while we move others. The fingers which stay in place, in other words on the same string and fret number, are called anchored fingers. This occurs because many chords contain common notes with one another.
This presents us with a small technical challenge as keeping fingers down on the neck whilst moving others requires a high level of coordination and finger independence. Something which requires some diligent practice! The pay off is great though, as our ears are very drawn to chord changes which contain common notes within them. Consistency is often a very good thing within music!
I've come up with an exercise for you to practice this anchored approach. In the first part of the tune your first finger will be 'anchored' on the B string at the first fret whilst your other fingers move around to create the other chords. In the second part of the exercise, things are slightly more difficult as that troublesome little finger is also 'anchored' on the high E string at the third fret.
Take things slowly and remember to be as accurate as possible using your finger tips. An analogy I always use is that of a ballet dancer on the tips of their toes. Using the tips of your fingers allows for good clearance of the other strings so you'll be well on your way to creating a more satisfying and professional sound!
Good luck and let me know how you get on!
Tom