


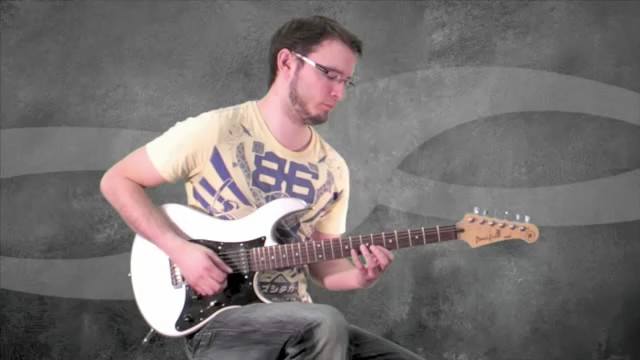


Okay! Let's put these fingerings to work.
We're going to be doing everything in the key of G major for this tutorial but these ideas will transpose into any key you wish.
Our first scale is going to be the G Major Scale. In the next few videos we'll be looking at the modes of this scale but this is a good place to start.
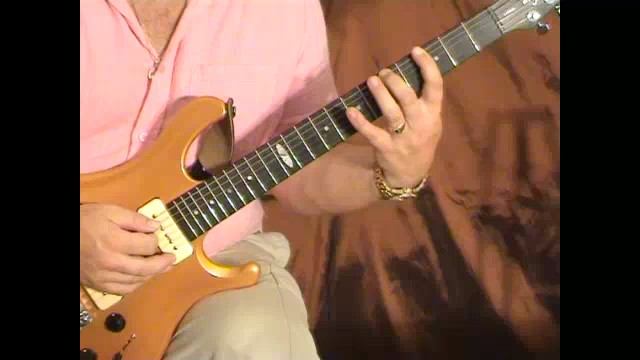
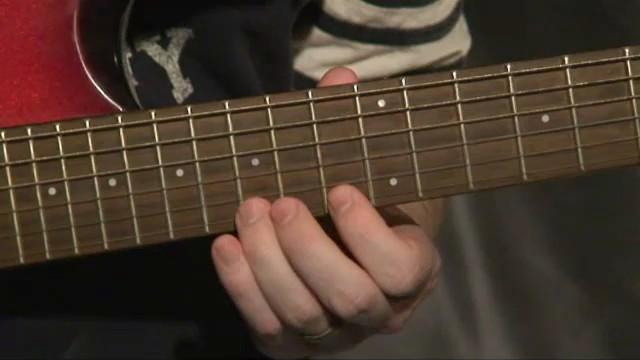
Now, the major scale utilizes the fingerings we've been looking at in a very nice, succinct manner. We're going to start at the 3rd fret of the low E string with fingering number 1. Fingering number 1 has a gap of 1 fret between each of your fingers giving us frets 3,5 and 7. Very conveniently this fingering is now repeated on the A string using the same frets. Now we change to fingering number 2 and also play this twice on the D and G strings using frets 4,5 and 7. Finally we move to the B and E strings and play fingering number 3 twice giving us frets 5,7 and 8.
Notice how we moved through fingering 1 twice, then 2 twice followed by 3 twice to cover all six strings. What a neat little pattern eh?! This works for all major scales providing you use 3 notes per string and start on the root.
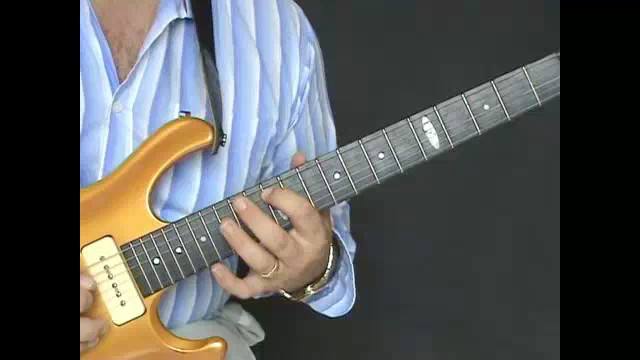
However, this is not quite the complete picture. Imagine for a moment that you have a 7 string guitar with a low B string below your E string. (if you already do then obviously don't bother imagining!) The reason I mention this is that there is another fingering number one that occurs below our E string on our imaginary B string which completes our picture. Now, lets say we started our scale on this B string and had an infinite number of strings on our guitar. We'd now play 3 fingering no.1's followed by 2 fingering no.2's then 2 fingering no.3's. Now the sequence starts again with 3 no.1's, 2 no.2's, 2 no.3's, 3 no.1's, 2 no.2's etc. etc. ad infinitum. So we always have 3 no.1 fingerings then 2 no.2's then 2 no. 3's before the pattern just starts again. This always occurs regardless of which mode we're playing. They just all start in different places within this pattern.
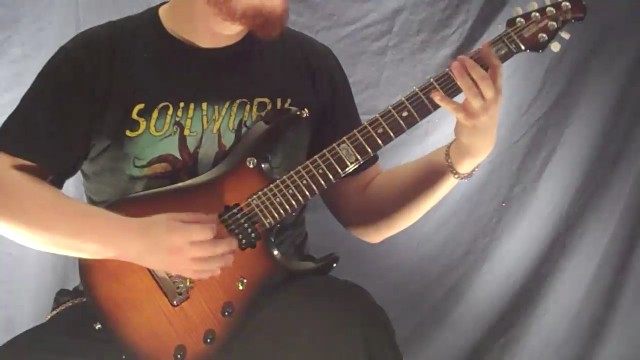
Once you have this sequence of fingerings in your head we can apply it to all the other scales we like.
Our major scale happens to start on the second fingering no.1 pattern meaning we get 2 no.1's, 2 no.2's and 2 no.3's. As you'll see, all our modes start somewhere within this pattern. Once you've learned where they start you can just follow the rest of the pattern to complete the scale.
Here's a quick example - let's say an imaginary scale started with the 3rd fingering no.1 on the low E string. Well, now we know that it must be followed by fingering number 2 on the A string, fingering no. 2 again on the D, fingering no. 3 on the G and B strings and then another fingering no. 1 on the high E to cover all 6 strings. This imaginary scale is, as you'll see in future videos, the Lydian scale. Remember ALL modes follow this pattern, they just start at different points within it.
Always refer to the diagrams below the video for each mode/scale to help you out. To make things clearer use the following key.
Fingering no.1 = RED Dots
Fingering no.2 = GREEN Dots
Fingering no.3 = YELLOW Dots
Now there's a lot of information here so it might take quite a few reads or video watches to get all of this into your head. However, this is one of the most useful things I've discovered for learning scales and the effort is absolutely worth it!

Move onto the next video to learn the pattern for the Dorian scale.