


"Settle for Metal!"
That's what my great grandfather always used to tell me. Okay maybe not, but it sounds cool to say.
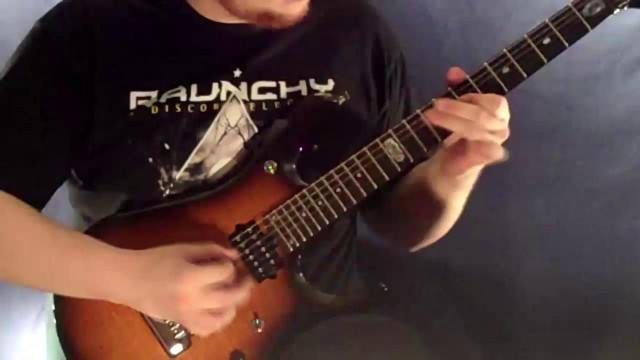
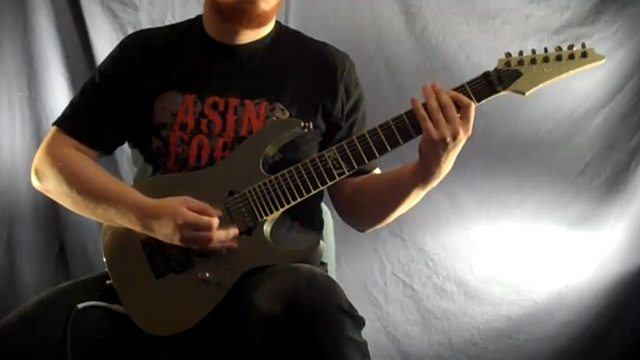
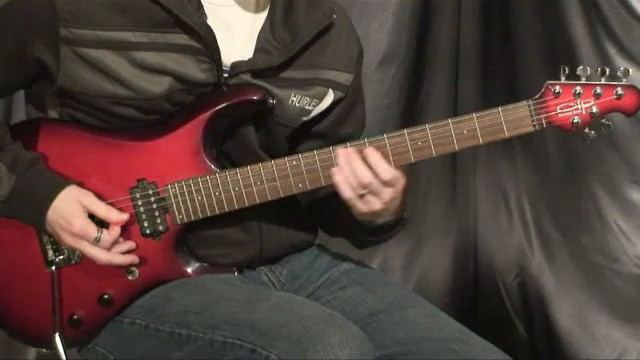
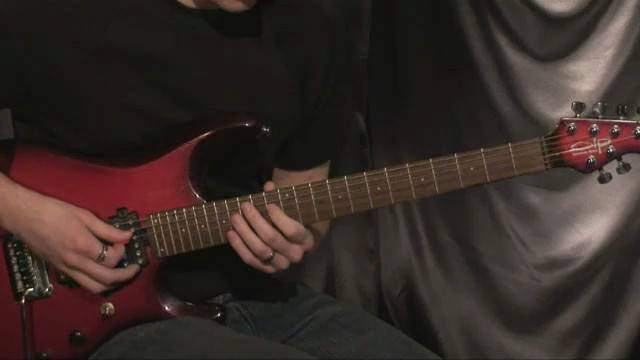
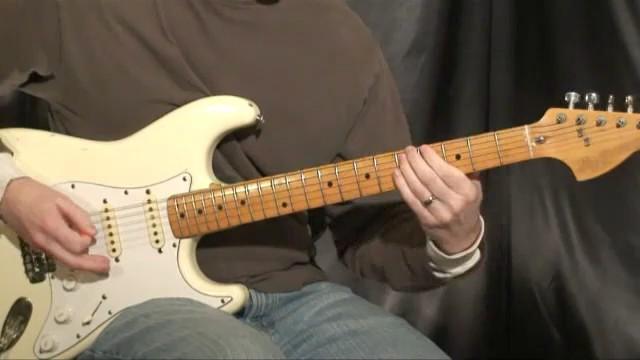
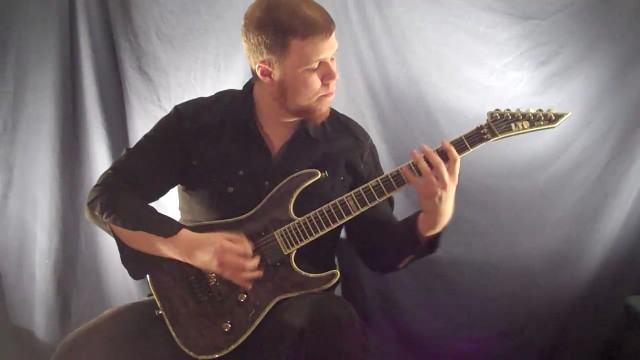
Alright, in this short song tutorial, we're going to look at some intense rhythm playing in the metal vein. Before diving into this, it's imperative that you make sure your hands and arms are warmed and stretched. Being relaxed while playing not only helps prevent injury, but it also enhances the sound of your playing. It's easy to tell just by listening whether a guitarist is tense or fully relaxed.
RIFF 1
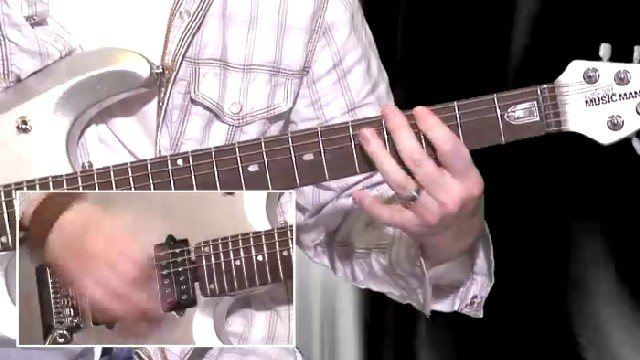
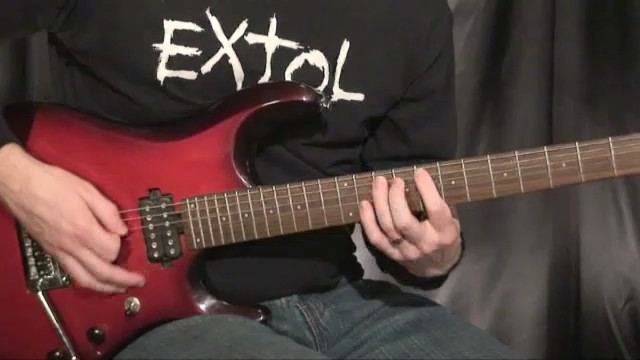
Check out the tablature below for Riff 1. Notice all those "P.M." markings? Wherever those are indicated, we're going to be palm muting with our picking hand. You'll also see a few "X" markings on the Low E string. Those represent dead notes, where you'll basically play/hear a click rather than a melodic note.
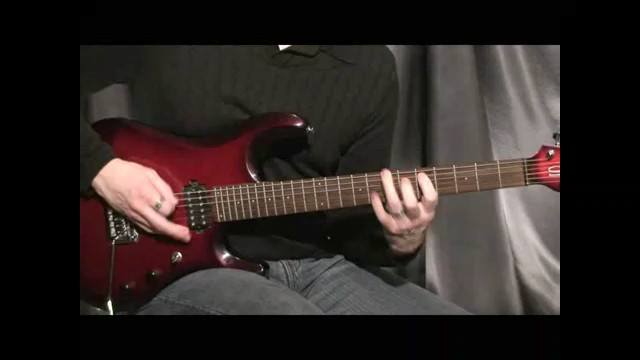
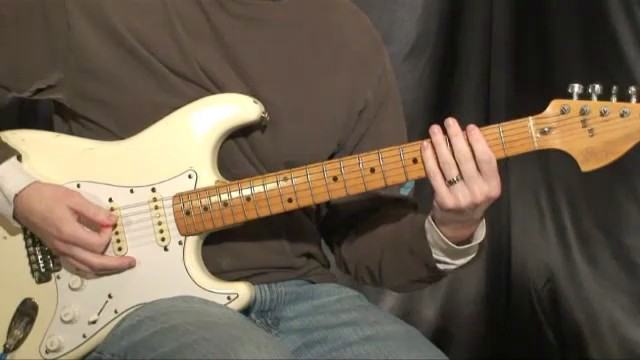
We're also going to be doing some quick position changes with power chords. Since the changes are pretty quick, it may be a bit difficult for your fingers to hold that "power chord shape" while switching positions. So play it very slowly until your fingers are ready to build up speed.
Lastly, observe the last three eighth notes in the 2nd and 4th measures. In the 2nd measure, you'll be sliding between D and Db diminished chords. Then in the 4th measure, you'll be playing an F octave chord. With the octave chord, make sure you're muting all the non-applicable strings with your index finger.
RIFF 2
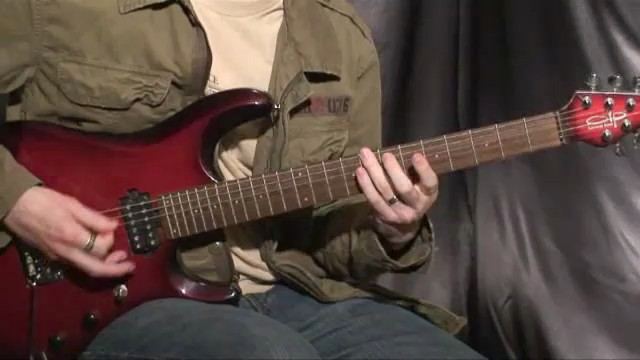
In the 2nd riff, we're going to be using a lot of "galloping" picking. Galloping is pretty self-explanatory in that it resounds similar rhythmic patterns of a horse galloping. You'll see these gallops represented in the tab where there are two quick 16th notes followed by an 8th note. You'll see that three-note grouping quite a few times in measures 5 through 8.
In the video, I improvised a couple extra gallops in the fast version than I originally put in the tab. On the same token, feel free to experiment with incorporating gallops wherever you see fit.
Last thing I want to emphasize about Riff 2 are the rests. One of the biggest keys to having tight rhythm playing is being in control of silence between the notes. When you see those rests, be sure to mute the string with both hands.
Okay, that's it! Once you have the riffs down, head on over to the next lesson to play along with the backing track.