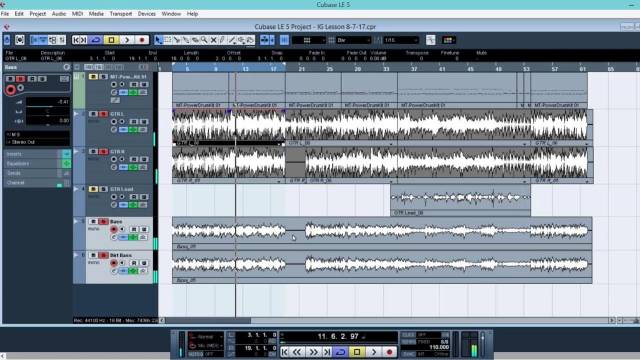
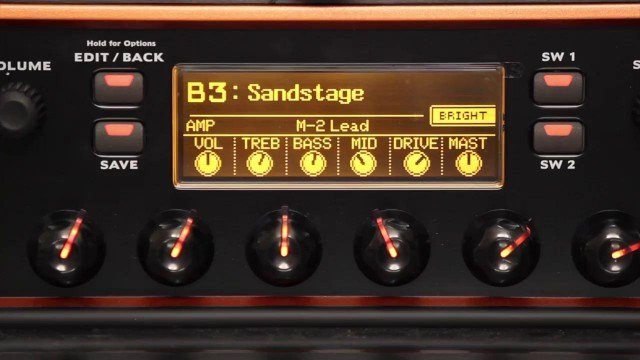
In this part, we continue exploring the different tones of the impulse responses. You will see how radically a different impulse response can change your overall tone!
As you can see, with most of the free responses, what you see is what you get, whereas with a paid app like Recabinet, you have more tweaking options and all the hundreds of impulses are loaded into the interface so you never have to deal with individual .wav files. However, once you find a response that you really like, then loading that particular impulse is no biggie anyway, right? There is also the possibility that you would spend more time tweaking every little parameter with an advanced interface than actually creating music!
So, on to the first trick up my sleeve. To make rhythm guitars (most of the time) sit better in a mix, I usually open a simple EQ plugin. First thing I do is lower the highs up and above 20'khz, and also cut out the sub below 20khz. This will get rid of the "frizzle" and "woof" of the guitar tone. Even though LeGion doesn't have a lot of that, it does make a difference in many amps. Then, we move on to the real magic, the midrange. This is the "make or break" area of guitar tones. For rhythm guitars, I usually cut around 750khz, since this is usually where the "nasal" character lies. Scooping this out will make the guitars sit really well in a mix with drums and bass. You can try to scoop first and then drag the scoop around the frequencies to see where the sweet spot is.
Another trick is to add a compressor. Use it lightly though since you don’t want to squash the tone completely. For heavy metal rhythm guitars, some compression is often needed. For software amps however, they often tend to be quite compressed in their nature, so at least I don’t feel the need to further compress them. Feel free to try that out however.
Done? Great! Let’s move on to Part 3 and get jiggy with the green box!


