-
Save LessonComplete LessonInfo1
-
Save LessonComplete LessonInfo2
-
Save LessonComplete LessonInfo3
-
Save LessonComplete LessonInfo4
-
Save LessonComplete LessonInfo5
-
Save LessonComplete LessonInfo6
-
Save LessonComplete LessonInfo7
-
Save LessonComplete LessonInfo8
-
Save LessonComplete LessonInfo9
-
Save LessonComplete LessonInfo10
-
Save LessonComplete LessonInfo11
-
Save LessonComplete LessonInfo12
-
Save LessonComplete LessonInfo13
-
Save LessonComplete LessonInfo14
-
Save LessonComplete LessonInfo15
-
Save LessonComplete LessonInfo16
-
Save LessonComplete LessonInfo17
-
Save LessonComplete LessonInfo18
-
Save LessonComplete LessonInfo19
-
Save LessonComplete LessonInfo20

Instructor: Richard Lundmark Level: Beginner Topic: Reference Style: Any Style
Excerpt: Welcome guitar slingers, to this behemoth of a tutorial on guitar set-up! Proper guitar set-up is something that everybody know is needed, but few know how to do. It’s sort of like the mechanics of a car. We all know how to drive one, but if it need adjustments or repair, very few of us knows what to do, and consequently have to leave the car at a rep...
Media Length: 0:49
Instructor: Richard Lundmark Level: Beginner Topic: Reference Style: Any Style
Excerpt: Having the proper tools will make your guitar-tech life a lot easier. Here’s a list of the most necessary tools. Of course you could get a professional guitar tech tool-kit if you do a lot of setup work, but regular tools like these will work just fine. 1.) Screwdrivers: Flathead, Philips head (and possibly a Torx depending on your guitar). 2.) Wrench...
Media Length: 2:23
Instructor: Richard Lundmark Level: Beginner Topic: Reference Style: Any Style
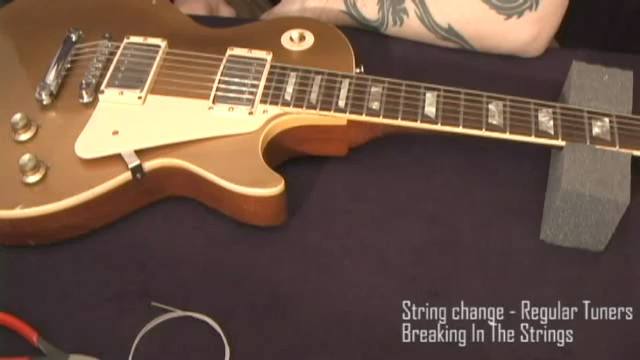
Excerpt: New Strings A fresh set of strings is always a relief to play, as the feel fresh, slick and you don’t get caught on them whilst playing (sort of a like a satin-finished neck vs. a sticky gloss finish). Many player change strings on an almost daily basis when they gig often. Also, regular string change can be necessary if you suffer from “acid-ha...
Media Length: 7:11
Instructor: Richard Lundmark Level: Beginner Topic: Reference Style: Any Style
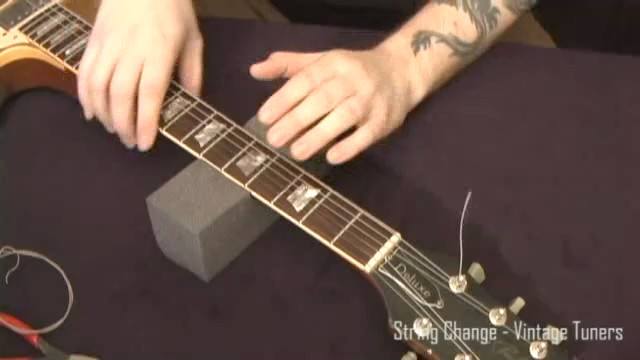
Excerpt: String change for vintage tuners The first part with fastening the string to the bridge is the same. Then follow this procedure (And check the video!): 1. Turn the tuning head, so that the slot in the peg head is in line with the fret board. In a vintage tuner, you will also see a hole drilled in the centre on the peg head; this is where the genius part of...
Media Length: 3:14
Instructor: Richard Lundmark Level: Beginner Topic: Reference Style: Any Style
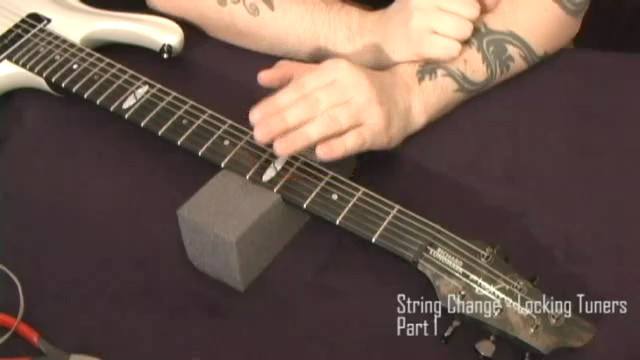
Excerpt: String Change for locking tuners In this first part, you will be presented with the workings on the locking tuner, and how to un-fasten strings from them. There are mainly two ways of doing this: 1. Start to unwind the string from the tuner, as the tuner and string comes in line with the fret board, just keep on turning the tuning peg. After passing sligh...
Media Length: 2:21
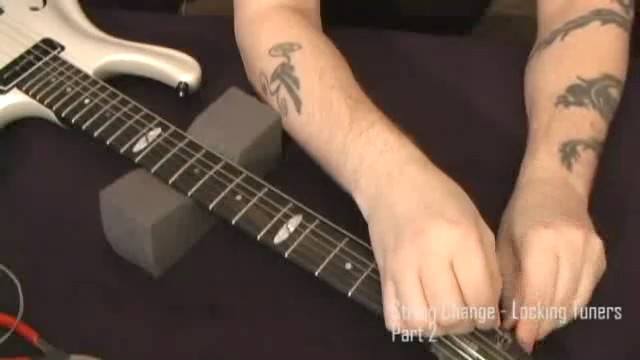
Instructor: Richard Lundmark Level: Beginner Topic: Reference Style: Any Style
Excerpt: Locking Tuners cont.: 1. Thread the string through the bridge like before. Nothing out of the ordinary here. 2. Thread the string through the hole in the locking tuning peg. Pull the string tight and hold it taut on the other side of the locking post. 3. There are two ways from here, either you hold the string taut, and wind the string up, manually or wit...
Media Length: 7:53
Instructor: Richard Lundmark Level: Beginner Topic: Reference Style: Any Style
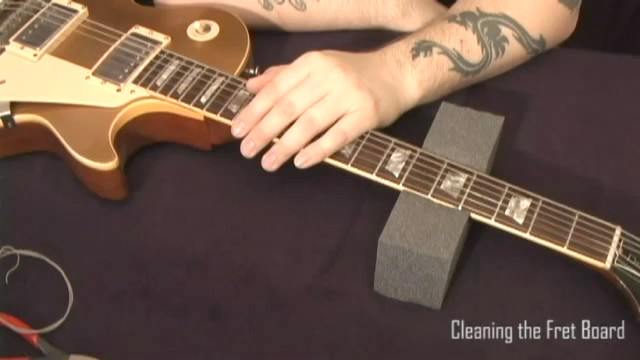
Excerpt: Fret Board Maintenance When changing strings, I recommend you change them one at a time, unless you feel the need to clean your fret board, oil it in, or polish your frets. This will keep the neck in constant tension, and won’t de-stabilize it momentarily. If you however, have a dirty/grimy fret board, or need to polish your fret wire, take all your ...
Media Length: 4:15
Instructor: Richard Lundmark Level: Intermediate Topic: Reference Style: Any Style
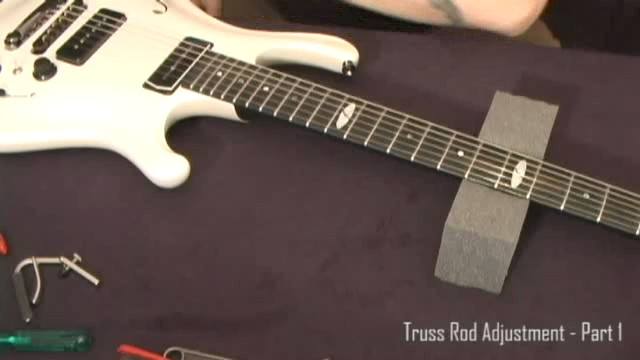
Excerpt: Truss Rod Adjustment What is a truss-rod you might ask? The truss-rod is a metal bar inside the guitar neck, that flexes in or (or sometimes both) directions. This rod in place for two reasons: 1. To stabilize the neck and stop it from warping. 2. To be able to bend the neck to the relief (bow) that you desire. With that said, relief (the way the neck is c...
Media Length: 4:43
Instructor: Richard Lundmark Level: Intermediate Topic: Reference Style: Any Style
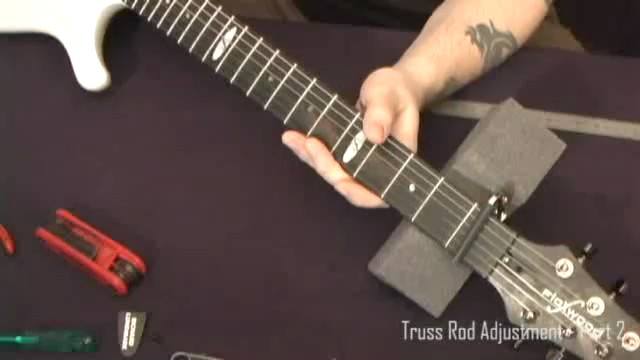
Excerpt: Truss Rod Adjustment - cont: First of all we need to determine what our current relief is, and decide how or if we want to change that. The way to do this is either by using you eye-sight, or by measuring with a steel ruler or with so called “feeler gauges”, which are thing metal blades of different thicknesses (gauges) that you can put between ...
Media Length: 7:39
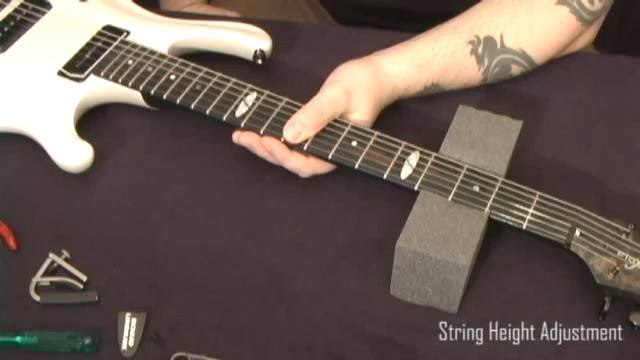
Instructor: Richard Lundmark Level: Beginner Topic: Reference Style: Any Style
Excerpt: String height adjustment So, once we’ve set the relief to a point that fits our string gauge and playing preferences, it’s time to adjust the string height. String height is also a matter of preference. Some like it high, some like it low. But, same thing here, to low a string height will cause buzzing, and dynamics in your playing can be lost, ...
Media Length: 5:31
Instructor: Richard Lundmark Level: Advanced Topic: Reference Style: Any Style
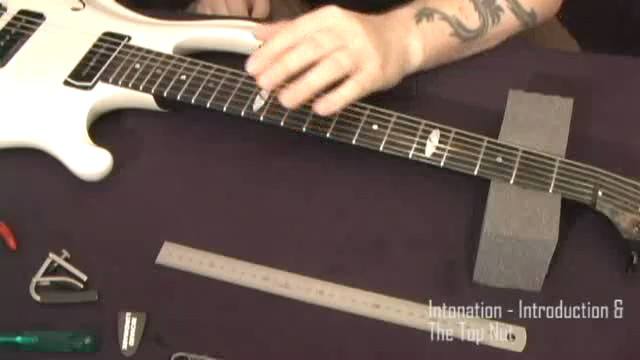
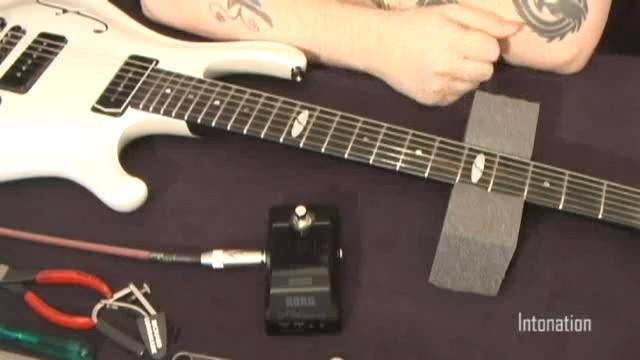
Excerpt: History and Background. Okay then, time for the big one, which will contain much information besides the practical intonation adjustments. Intonation is probably the most misunderstood part of guitar set-up, and a huge part of the overall sound and playability of an instrument. What intonation in short can be said to be about, is how well the guitar is in t...
Media Length: 10:28
Instructor: Richard Lundmark Level: Intermediate Topic: Reference Style: Any Style
Excerpt: Ok, let’s say that your top nut is fine. Then let’s move on to intonating to rest of the neck. The common way of intonating an electric guitar is to tune the open harmonic to pitch, and then check to see if the fretted note at the 12th fret is exactly in unison with that. Here you should use an accurate tuner, or computer tuner. Also, make very ...
Media Length: 9:09
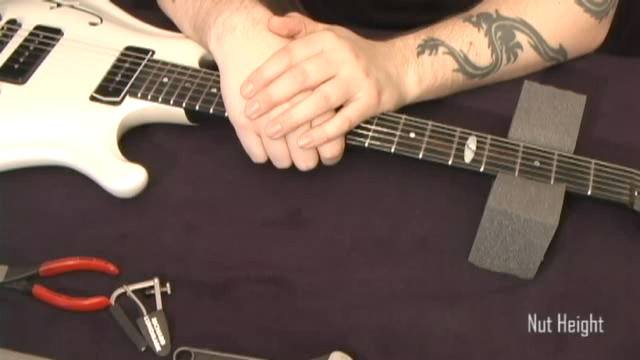
Instructor: Richard Lundmark Level: Beginner Topic: Reference Style: Any Style
Excerpt: Nut Height Nut height is yet another thing we need to cover. The nut height affects playability and sound to a great extent, more so than intonation (that is more the contact points of the strings, as described earlier). If the nut is too high, it will be hard to chord (especially with heavy strings), and if it is too low, the open strings will buzz against...
Media Length: 6:56
Instructor: Richard Lundmark Level: Beginner Topic: Exercises Style: Any Style
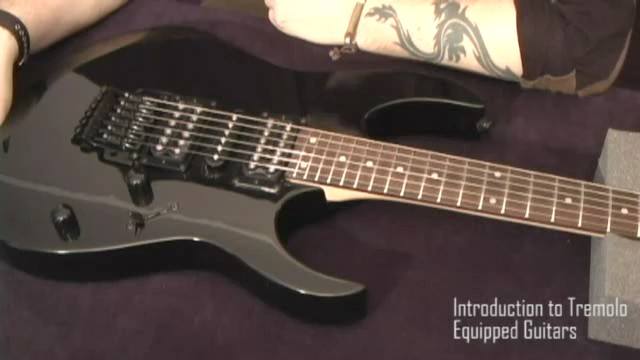
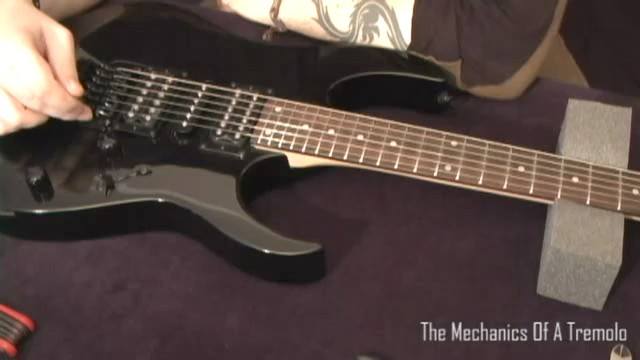
Excerpt: Tremolo Equipped Guitars For the final chapter, we will look at setup for a typical tremolo guitar, a Floyd Rose-type guitar such as an Ibanez. Some of the things have already been covered, such as cleaning the fret board and such. In this first part, I will show you and easy way of taking the tremolo off the guitar while working on the fret board or such. ...
Media Length: 7:19
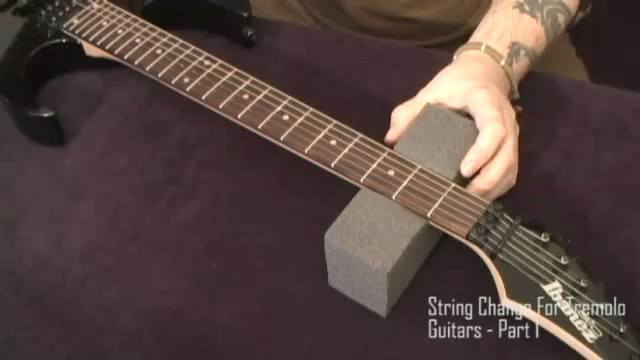
Instructor: Richard Lundmark Level: Beginner Topic: Reference Style: Any Style
Excerpt: String change In this first part of the video, I will just discuss and show you how to remove the strings, and things to consider.
Media Length: 2:31

Instructor: Richard Lundmark Level: Beginner Topic: Reference Style: Any Style
Excerpt: String Change cont. On a guitar with a locking nut, it is not necessary to use the string fastening techniques we've discussed before. You will have a locking top nut that will secure the strings. There are 2 main ways of fastening the strings: 1. Cut off the ball-end of the string, just before the double wind near the ball-end. 2. Thread it through the t...
Media Length: 8:51
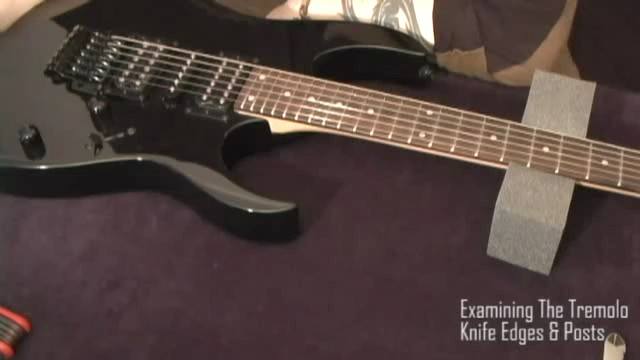
Instructor: Richard Lundmark Level: Advanced Topic: Reference Style: Any Style
Excerpt: Checking the knife edges As described in the video (and I do urge you to check this on the video), you can easily take off the tremolo to do maintenance, cleaning and such. If you have any tuning stability problems, you should always check the knife-edges to see if they are worn out, or not properly worn in. They should be about as sharp as a butter-knife, ...
Media Length: 6:43
Instructor: Richard Lundmark Level: Advanced Topic: Reference Style: Any Style
Excerpt: Shimming the neck pocket Let’s say that you have lowered your bridge as far as you can into the cavity without bottoming out, and the action is still too high. Your truss-rod and relief has been adjusted, and all else is well. What then? Then you probably need to shim your neck pocket. This entails taking the neck of the guitar, and inserting a small ...
Media Length: 5:31
Instructor: Richard Lundmark Level: Beginner Topic: Reference Style: Any Style
Excerpt: For this specific chapter, show and tell is by far easier than reading text. So for this chapter I urge you to just watch the video, and listen to what I have to say there.
Media Length: 3:23
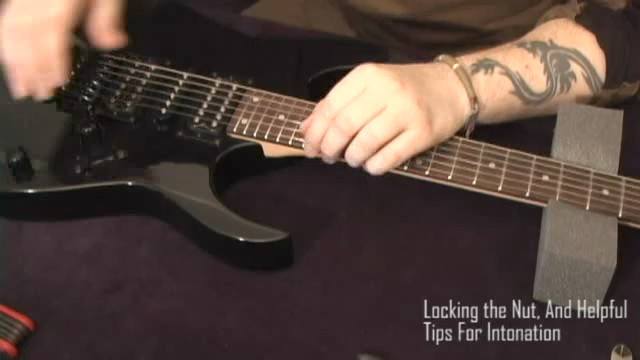
Instructor: Richard Lundmark Level: Beginner Topic: Reference Style: Any Style
Excerpt: When you are finally ready to lock down on the top nut, one thing to consider is that the force of the locking nut will pull the strings out of pitch as you tighten it. As I turn the screw clockwise to tighten it, the plate beneath it will pull on string with it towards the head stock, pulling that string sharp, and pushing the other string in the pair (for ...
Media Length: 5:08