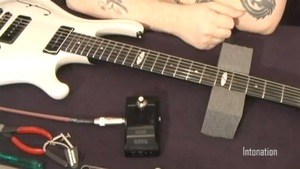
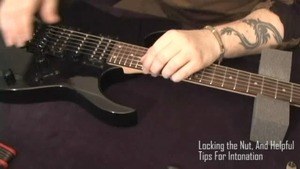
When you are finally ready to lock down on the top nut, one thing to consider is that the force of the locking nut will pull the strings out of pitch as you tighten it. As I turn the screw clockwise to tighten it, the plate beneath it will pull on string with it towards the head stock, pulling that string sharp, and pushing the other string in the pair (for example the low E and A-strings) towards the neck, lowering that pitch.
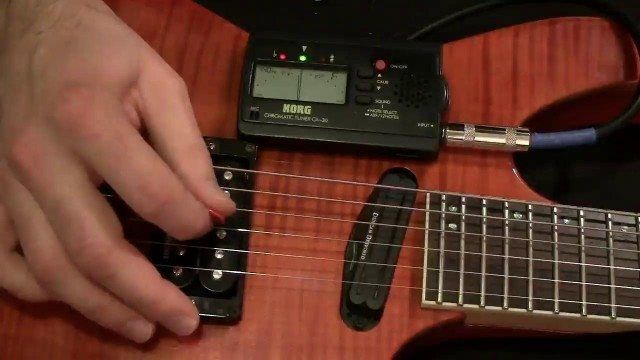
This will lead you to having to adjust everything again with the fine-tuners on the bridge, sometimes making them bottom out, and creating a zig-zag pattern down there. A way of preventing this from happening is this:
1. Before anything else, position all the fine-tuners in the middle position.
2. Then loosen the low E, D and B-strings, raising that fine-tuner a couple of turns. (more so on the low E than the others).
3. Tighten the A, G, and high E-strings, lowering those tuners.
4. Once you are down, you should have a zig-zag pattern down at the bridge. Now, tune the guitar to pitch using the regular tuners.
5. Lock the top nut. As you now begin to adjust the fine tuners, do so skipping a string at a time. First adjust the low E, D and B, then go to the A, G, E and so on. As the guitar reaches pitch again, you will flatten out that zig-zag pattern. In the end the fine tuners should be pretty much back to mid-point, and your guitar in perfect tune.


