


Before we start learning to play some lines and understanding what makes them tick, it is important we understand the concept of guide tones.
A good improviser will always be able to 'outline' the chord progression he/she is playing through. In our case we want to outline a II-V-I progression.
Outlining chords, to make an analogy, is like tracing a painting. When ever your listening to a piece of music with several instruments involved, usually they are all playing separate roles. Piano might be playing chords, while the drums keep rhythm, the bass is playing the root notes among other things, and the guitar is taking a solo or playing the melody. When they are all working together, you get something of a musical picture, and within this picture is a broad sense of harmonic direction. It has color, shape, and feeling.
But what if you took all instruments away save the guitar right in the middle of his solo? With no piano playing the chords and no bass line, in some cases, you might not even be able to recognize what song is being played. However, with the use of Chord Tones and Guide Tones, you can take a solo over any tune all by yourself and hopefully the audience will recognize the chord changes your playing through.
To get back to my analogy about the painting, guide tones are like the outline of any song. If you were to play a tune with nothing but Guide Tones, the audience clearly won't get the whole picture, but if it's a tune they have heard before it should be recognizable.
"Tell me what they are already!!" I hear you screaming.
Guide Tones are simple. The 3rd and 7th degrees of any chord are considered the guide tones, and sometimes the 6th in the case of a Major chord.
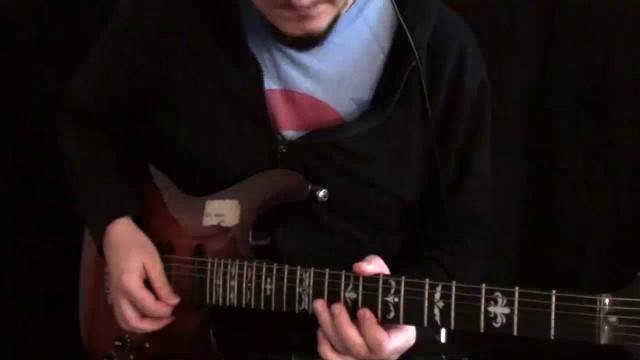
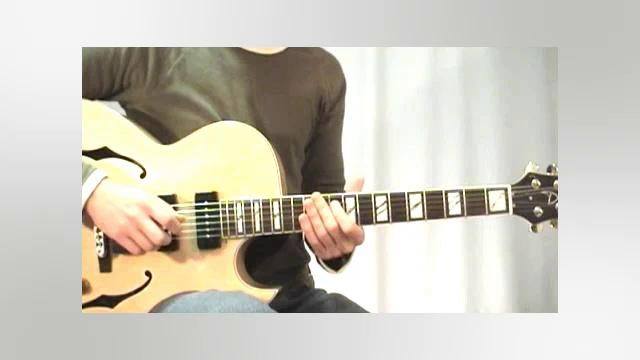
In the video, I will be showing you how to find them for our II-V-I but here it is again....
Am7 is built with the notes A C E G. We want to isolate the 3rd and 7th to begin the first part of our Guide Tone line. So that leaves us with a C (3rd) and a G (7th)
D7 is built from D F# A C so our guide tones are F# (3rd) and C (7th)
Gmaj7 has the notes G B D F# so our Guide Tones are B (3rd) and F# (7th) or E if we wanted to use the 6th degree.
So at a closer look when we play through Am7 D7 Gmaj7 we have a series of Guide Tones that look like this.
- C G
- F# C
- B F# E
Our task now is to order these notes in such a way that they flow smoothly from one chord to the next. So for example, from Am to D7 we won't play C then F# because this is quite a large leap (augmented 4th) and why do that when you can play C then C again. This is by no means a rule, Guide Tone lines can be structured anyway you wish. For now though, we will be building lines based on the shortest possible leaps from one chord to the next.
I plan to move away from this strict point of view quickly, but it's important we cover this before trying to get more creative.
In the tab below, I will show you the Two guide tone lines played in the video and these will be a basis for our first bunch of phrases and lines.
Lastly, in order to make the most from the next few lessons, it is important that you have a good idea of the notes on your fretboard and understand which notes are belonging to each chord in this progression.